完成了debug的准备,我们终于可以开始我们的编程大业了!摆在面前的事儿有两件:
- 将内核从硬盘装载进内存,毕竟我们不能指望这一个512字节的扇区成为系统(
- 从16位切换到32位模式,没错,咱就打算做个32位的,不考虑64(
那么,先做哪个呢?答案是……这篇博客的名字!毕竟切换到32位就用不了bios的例程了,就得万事靠自己了,所以,趁现在还能用,再多用两下吧,一会就要含泪和bios说再见了,呜呜呜
BIOS,BIOS,没有你的日子我可怎么活啊
没啥逻辑,调用bios就行
依旧难看的实现
将启动扇区之后的512个字节装载到0x9000的内存空间(也就是第2、3扇区)
[org 0x7c00]
;test code to load disk
start:
	mov bp, 0x8400
	mov sp, bp
	mov bx, 0x900
	mov es, bx
	xor bx, bx
	mov al, 2
	call disk_load

	mov bx, enter_key
	call print_str

	mov bx, 0x9000
	mov ax, 0x20
	call print_hex

	jmp $


; this function used to load [n] sectors to address [a]
; before use, set AL and ES:BX
; the bios will stores our boot drive in DL
; use int 0x13 interrupt to load disk
; setting as follow:
; AL		number of sectors to read
; AH		BIOS read sector function
; ES:BX 	address to place sectors
; CH		cylinder, base of 0
; DH		head, base of 0
; CL 		sector, base of 1
; DH(ret)	num of actually read
disk_load:

	mov ah, 0x02
	mov ch, 0x00 		; cylinder 0
	mov dh, 0x00 		; head 0
	mov cl, 0x02		; sector 2, 1 is this code
	int 0x13
	mov [num_of_sector], al

	mov bx, read_str
	call print_str

	mov bx, num_of_sector
	mov ax, 1
	call print_hex
	ret

%include "./print_hex.asm"
%include "./print_str.asm"

read_str db 'actually read sectors:', 0
enter_key db 0x0d, 0x0a, 0
num_of_sector db 0
times 510 - ($ - $$) db 0
dw 0xaa55
times 256 dd 0xdeadbeaf
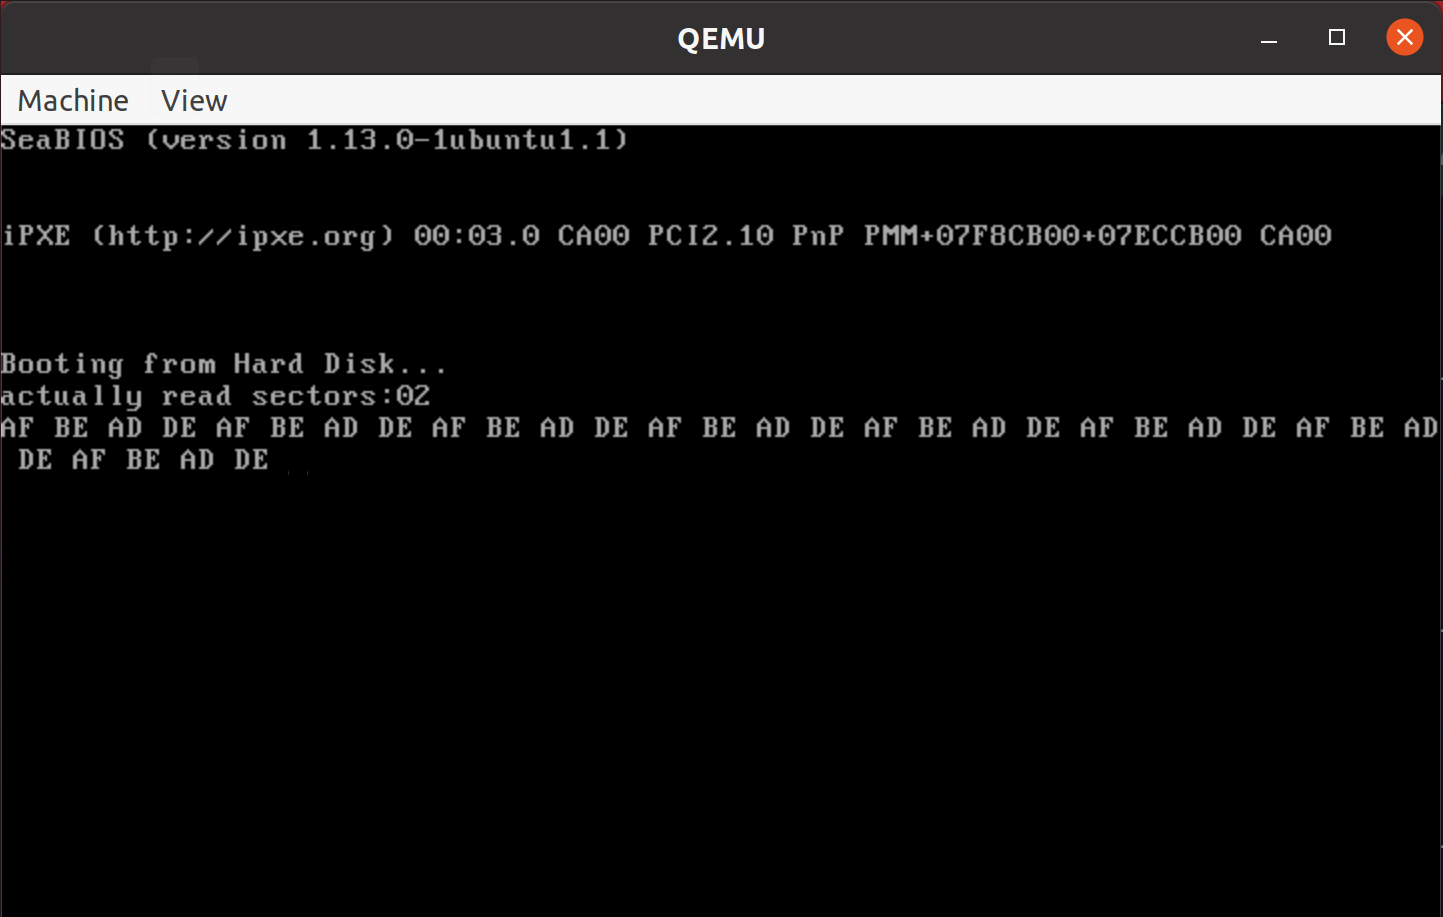
很欣慰的运行

